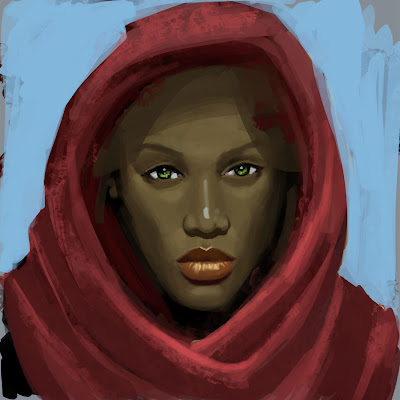
I like Photoshop CS2. I don't even want to look at CS3 yet, but I'm sure that will happen someday. At work, I did this sketch yesterday and kinda finished it up and made it more presentable today. She looks kinda green on my monitor at home, but she looked ok at work....Tyra Banks was the reference photo. Everything but the face was kind of an afterthought and done without any reference....and I think it shows. Oh well, it's just a sketch. It is what it is.
===========================
Quick Photoshop Custom Brush Tutorial
Ok, so you should know that most of the default brushes in Photoshop aren't that great. However, the angled squarish chalk ones are pretty decent.
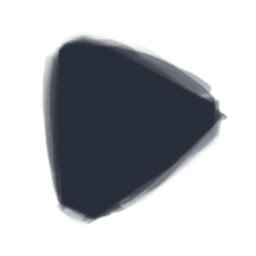
To make a new brush, you'll first want to start with a new document. I usually just make a 256x256 @ 72 or 150 pixels per inch. Make the background white, and whatever is darker than white will become your brush shape. This is the brush shape I like to use for general painting:

Once you have your brush shape the way you want it, go to Edit > Define Brush Preset. This will make your current document into a brush. Name it whatever you want, and then click "OK".
Select the Brush tool and you will see that you now have your new brush shape. However, the default settings aren't normally what you want on your brush. Open the Brush window under Window > Brushes (F5).
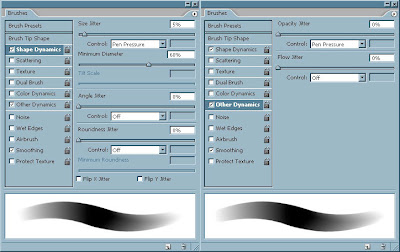
Under Brush Tip Shape, I normally set the spacing setting to 1% unless I'm going for a repeated pattern look. I'll go over one of those brushes some other time. You can play around with the roundness or angle if your initial brush shape isn't looking exactly how you wanted.
Next, I make sure Smoothing is checked at the bottom, and then go into Shape Dynamics. For these features to work effectively, you should have a pressure-sensitive drawing tablet like this. They can be pricey, but are very essential if you plan on being serious about digital artwork. My Wacom Intuos Series 1 has been very reliable, and I have rarely heard of anyone's tablet breaking from wear and tear.
Sorry about that sidetrack...here are my settings for this brush.

Hope this helped. As you can see, creating a custom brush is pretty simple. There are many options and features you can use in each brush, but often you only need a few of them. The trick is just understanding each feature and using the ones you need for the look you want. Simple experimentation of the settings will go a long way.
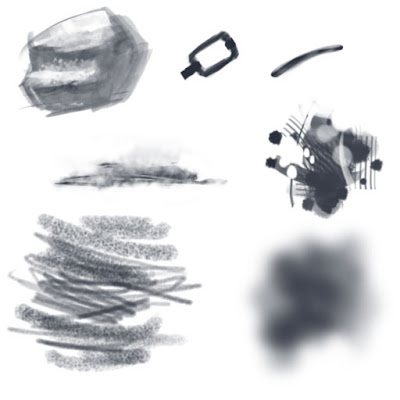
Up next, more custom brushes with "texture"! I hope this was helpful. As a tease, here are some other brush shapes in my brush palette.


2 comments:
fyi, she looks a tad green on my (nearly calibrated) monitor... not as bad as your monitor tho.
She looks nice on my work comp.
Cool brush set up.
My next purchase is going to be an intuos 4x6.
I'd like to get the one that is the monitor and pad all in one but it's like 2500 bucks!
Post a Comment